The short answer: To set up the Meta Pixel and Conversions API without a developer, create your pixel (shown as a dataset in newer accounts) in Meta Events Manager, then connect the Conversions API using one route: your website platform’s official Meta integration (for example Shopify or WooCommerce), or, if you do not have one, Meta’s free one-click Meta-enabled Conversions API. The Conversions API Gateway and server-side Google Tag Manager give more control but carry monthly cloud costs. Send the same key events, such as Lead or Purchase, from both the browser and the server, give each event the same name and event ID so Meta counts it once, and check everything in the Test events tool before you rely on the numbers. Never send health, financial or other sensitive details in event data, and respect cookie consent where the law requires it.
This guide is for small business owners and marketers anywhere in the world who run, or plan to run, Facebook and Instagram ads and want Meta to see their enquiries and sales accurately. It explains the difference between the pixel and the Conversions API in plain words, compares the four setup routes and what each costs, shows how deduplication works with an illustrative example, and includes a five-step test. It follows Meta’s own Business Help Center and developer documentation at the time of writing; Meta changes menu names often, so if a label differs, look for the nearest match.
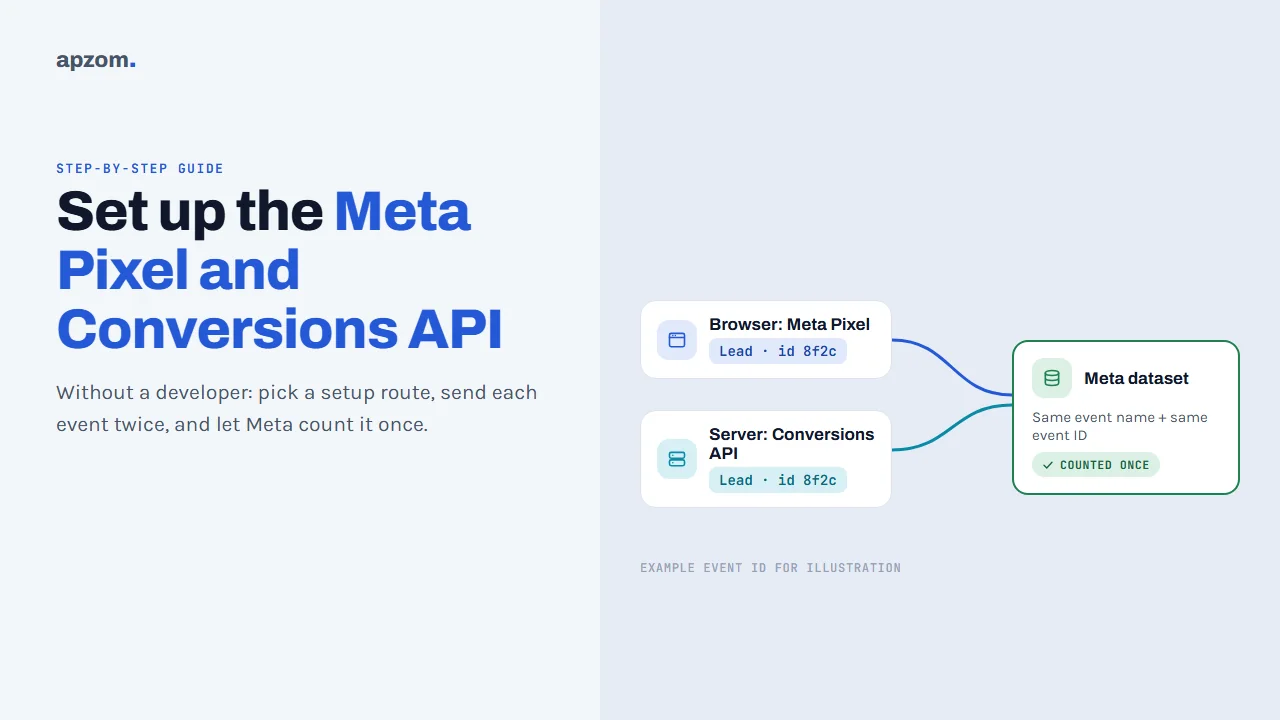
Pixel vs Conversions API: what each does
The Meta Pixel is a piece of code that runs in your visitor’s browser. When someone views a page, fills in a form or buys something, it sends that event to Meta. Browser tracking can miss events, for example when scripts are blocked or a page closes before the code runs.
The Conversions API sends events from a server instead of the browser: your website platform, a cloud service or a tag manager server. Because it does not depend on the visitor’s browser, it can send events the pixel misses, and it can send events that happen later, such as a lead becoming a customer in your CRM.
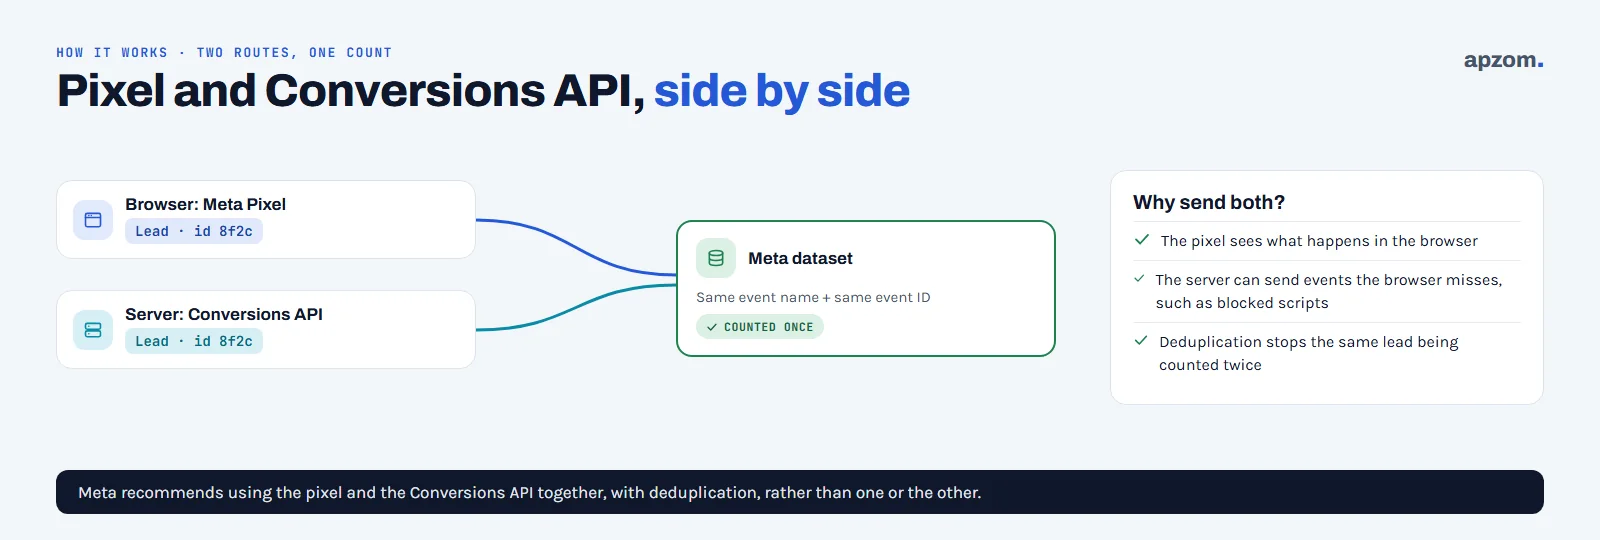
Meta recommends using both together, with deduplication, so that each real action is counted once. Meta also says that advertisers with a Conversions API set-up for web events saw an average 17.8% lower cost per result than those without one (Meta, April 2026); Meta does not publish its method, so treat it as Meta’s own figure, not a promise. Our guide to Facebook and Instagram ads for local businesses explains how these events are then used to optimise campaigns.
Before you start
- Admin access to your Meta Business Portfolio (formerly Business Manager) and to the ad account. Make sure the business, not one employee, owns the portfolio, the pixel and the ad account, and give at least two trusted people admin access.
- Access to your website platform with permission to install apps or plugins.
- A list of the actions that matter. For most service businesses that is an enquiry form, a phone click and a booking; for shops, add to cart, checkout and purchase.
- Your consent set-up. If you have visitors in the EU, UK or other places with cookie consent rules, decide how your consent banner will control the pixel before you install it.
Step 1: create or find your pixel (dataset)
- Open Events Manager from your Meta Business tools.
- Choose Connect data, then Web, name your pixel and enter your website address. Meta then checks whether your website platform has a ready-made integration.
- If a pixel already exists for your website, use it rather than creating a second one. Duplicate pixels split your data.
Two older steps are no longer needed: Meta has removed the requirement to rank eight events per domain (the Aggregated Event Measurement tab is gone), and domain verification is no longer needed for event set-up, though Meta says you may still need it for other reasons.
Step 2: choose one Conversions API route
There are four routes. Choose one; running several at once can count the same action twice. Our advice, based on Meta’s own comparison of setup options, is to start with your website platform’s official integration if you have one, and otherwise to try Meta’s free one-click option.
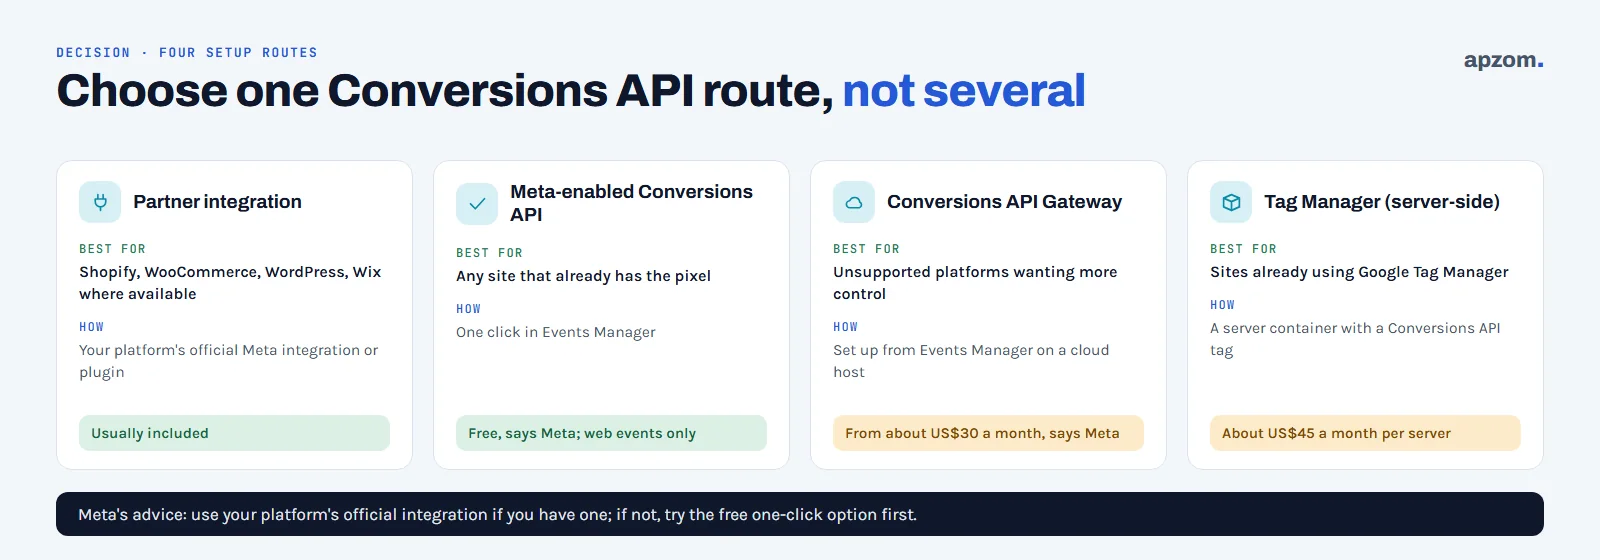
| Route | Best for | How | Cost and limits |
|---|---|---|---|
| Partner integration | Shopify, WooCommerce (“Meta for WooCommerce”), WordPress (“Meta pixel for WordPress”) and Wix where available | Connect Meta in your platform’s settings or official plugin and turn on the Conversions API option; on Shopify, choose the Enhanced or Maximum data-sharing level | Usually included; check which events it sends. Squarespace’s help page mentions only the pixel, so use Meta’s one-click option there |
| Meta-enabled Conversions API | Any site that already has the pixel | In Events Manager: Connect data, Web, “Conversions API and Meta pixel”, then “Set up with Meta-enabled, web-only Conversions API” | Free, according to Meta; web events only. It sends the same events as your pixel, so it cannot add CRM or offline events |
| Conversions API Gateway | Sites not on a supported platform that want more control | Set up from Events Manager on Amazon Web Services or Google Cloud | Cloud fees start at about US$30 a month, according to Meta, which suggests it for businesses spending more than US$300 a month on web campaigns |
| Google Tag Manager (server-side) | Sites already using Tag Manager | A server container with a Conversions API tag | Google’s hosting costs about US$45 a month per server and Google recommends at least two; easiest with a developer or agency |
Meta’s free Meta Ads Data Advisor browser extension (formerly the Meta Pixel Helper) can also check your set-up and connect the pixel and Conversions API through Google Tag Manager or Shopify.
Not sure your Meta tracking is counting leads correctly? Ask for a Free Growth Audit. We check your pixel, Conversions API route, events and deduplication, and tell you what to fix first.
Step 3: choose your events
Meta has a set of standard events, such as Lead, Contact, Schedule, CompleteRegistration, AddToCart, InitiateCheckout and Purchase. Use the standard event that matches the action, rather than inventing names, so Meta can optimise for it.
- Service businesses: Lead (form sent), Contact (phone or chat click), Schedule (booking made).
- Online shops: ViewContent, AddToCart, InitiateCheckout and Purchase with value and currency.
Send each event when the action really happens, for example on the thank-you page or when the form is successfully submitted, not when someone merely clicks the button.
Step 4: make sure events are deduplicated
When the same event arrives from the browser and the server, Meta needs to know it is one action. It matches them using two things: the event name and the event ID.
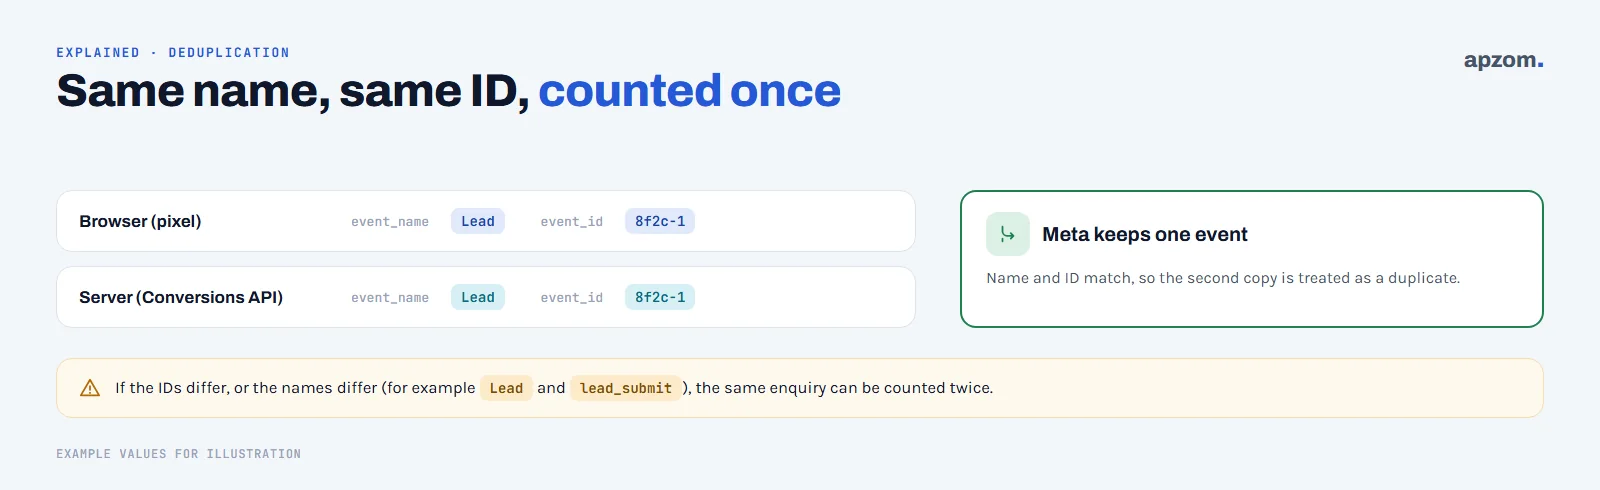
- Both copies must use the same event name, for example Lead and Lead, not Lead and lead_submit.
- Both copies must carry the same event ID, a unique value generated for that one action.
Illustrative example: a visitor sends your enquiry form. The browser sends Lead with event ID lead-8841, and your server sends Lead with event ID lead-8841. Meta keeps one and drops the other, so you see one lead, not two. If the server had sent lead_submit, or a different ID, you would see two.
Partner integrations and Meta’s own options usually handle this for you. The Conversions API Gateway also deduplicates automatically, according to Meta. If you set up server-side Tag Manager yourself, check that the event ID is passed to both the pixel and the server event. Meta’s developer documentation says it matches duplicates within 48 hours.
Step 5: test before you trust it
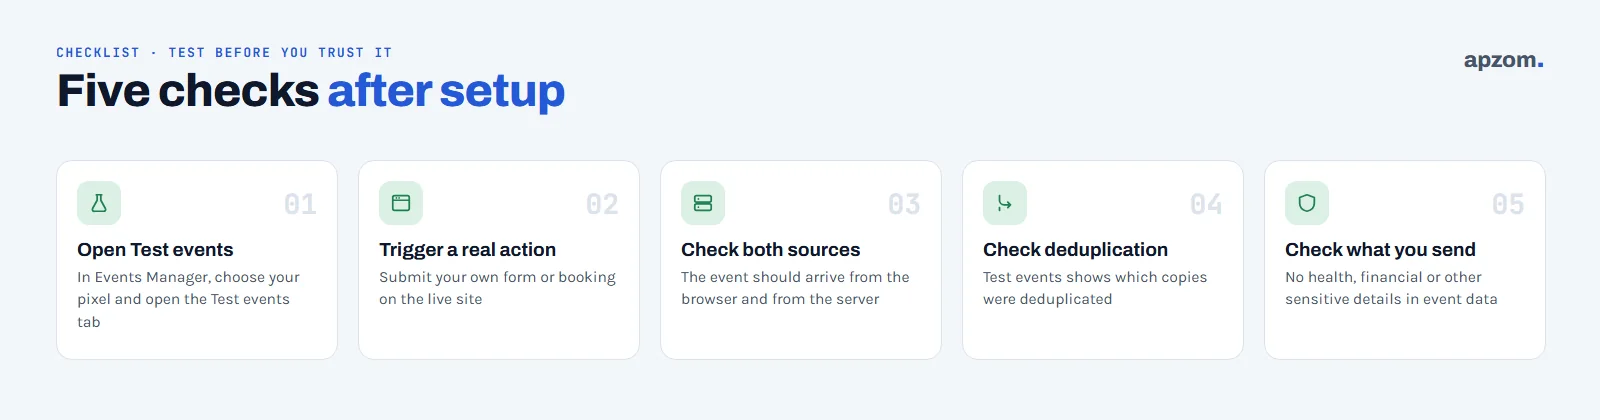
- Open Test events in Events Manager: go to Data sources, select your pixel and click Test events. Enter your website address and click Open website. Activity is only recorded while the Test events page is open, and stays there for 24 hours.
- Trigger a real action in the window that opens, such as submitting your own enquiry form. Clearing test activity does not remove it from your reports.
- Check both sources: the event should appear from the browser and from the server.
- Check deduplication: Test events shows which events were deduplicated.
- Check what you send: make sure no health, financial or other sensitive information appears in event names, URLs or parameters.
Then compare Meta’s count with the enquiries you actually received for a couple of weeks. If they differ widely, fix the tracking before judging your ads. Our guide to how to measure marketing ROI explains why ad platforms and your own records rarely match exactly.
Privacy and consent
- EU and UK: you need the visitor’s consent before the pixel loads. Meta’s Business Tools Terms require it where consent rules apply, the European Data Protection Board treats tracking pixels as covered by the EU ePrivacy rules, and the UK regulator, the ICO, says advertising cookies and pixels need consent. Make sure server-side events follow the same consent choice, because the Conversions API is also covered by Meta’s terms. Hold the pixel back with your consent tool and allow it only after the visitor accepts. This is not legal advice; check with your adviser.
- Customer information: the pixel hashes contact details for you. Anything sent from a server, such as email, phone or name, must be SHA-256 hashed first; partner integrations and Meta’s own options do this for you. You also need a lawful basis and a privacy notice that explains it.
- Sensitive data: do not send information about health, finances or other sensitive categories. Meta may place a pixel in a restricted category such as “Health and wellness” or “Financial service”; it can then strip page paths and custom parameters, block some lower-funnel events or stop event sharing entirely, and custom events are blocked until you review them. Clinics, insurers and lenders should check Events Manager for a category label before building campaigns around Lead or Purchase events.
- Elsewhere (for example Canada, Australia, the UAE or India): check the privacy law where your visitors are. For certain US states, including California, Meta offers a Limited Data Use option for advertisers who need it.
Common problems and fixes
| Problem | Likely cause | Fix |
|---|---|---|
| Events counted twice | Different event IDs or names, or two routes running | Use one route; match event names and IDs |
| Server events missing | Integration not fully connected, or Conversions API option not turned on | Recheck the integration settings and Test events |
| Lead fires on button click, not on submission | Event placed on the wrong trigger | Fire it on the thank-you page or successful submission |
| Very different numbers from your CRM | Duplicates, spam submissions or consent blocking | Compare for two weeks, remove duplicates, filter spam |
| Two pixels on the site | An old manual install plus a new integration | Remove the old code; keep one dataset |
If you also track campaigns in Google Analytics 4, tag your ad links consistently; our guide to creating UTM links has a naming template, and our GA4 setup guide covers key events.
How Apzom can help
Apzom Digital sets up and checks Meta tracking as part of our Meta ads management service: choosing the right route for your platform, mapping your real enquiries and sales to standard events, deduplication, consent and testing, all in accounts your business owns.
We work with clients worldwide, remotely, from our base in Ahmedabad, India. Our published Meta results are on our case studies page: HillTown Group has had 600+ leads every month from Meta ads, for 12 months running, and Kingston Flats has had 560+ Meta leads every month since June 2025. These are lead results from Meta ads, not the result of tracking set-up alone.
Frequently asked questions
Do I still need the pixel if I use the Conversions API?
Meta recommends using both, with deduplication. The pixel captures browser activity; the Conversions API fills gaps and can send events that happen off your website.
Is the Conversions API free?
Meta says its one-click Meta-enabled Conversions API is free. The Conversions API Gateway has cloud fees starting at about US$30 a month, and server-side Tag Manager hosting costs about US$45 a month per server. Commerce platforms such as Shopify and WooCommerce add it at no extra cost, according to Meta; other partners set their own prices.
How long does it take for events to appear?
Test events usually appear shortly after the action, and stay in the Test events tab for 24 hours. Reporting in Events Manager and Ads Manager can take longer to update.
Can I set this up on WordPress?
Yes. WooCommerce shops can use the official “Meta for WooCommerce” plugin, and other WordPress sites can use the “Meta pixel for WordPress” plugin, which supports the Conversions API. Meta’s one-click option is also available once the pixel is installed.
What is event match quality?
A score from 0 to 10 in Events Manager, for website events sent through the Conversions API, that shows how well the customer information you send helps Meta match events to people. Sending hashed customer details, where you have a lawful basis, can improve it.
Can I track leads from Meta’s Instant Forms?
Yes. Instant Form leads are submitted on Meta, not your website, so the pixel does not see them. If you get at least 200 of these leads a month and your CRM stores each Meta lead ID, Meta’s Conversions API for CRM sends your lead stages (for example, “qualified”) back to Meta, and you can switch the campaign’s performance goal to Conversion Leads.
Get your Free Growth Audit and Quote. We review your Meta dataset, which Conversions API route you use, the events you send, deduplication, consent handling and how Meta’s numbers compare with your real enquiries, then send a plain-English fix list. To check your Events Manager, we will ask you to give us access; you stay the owner.
No obligation and no guaranteed results. Prefer to talk first? Contact us or see our Meta ads management service.